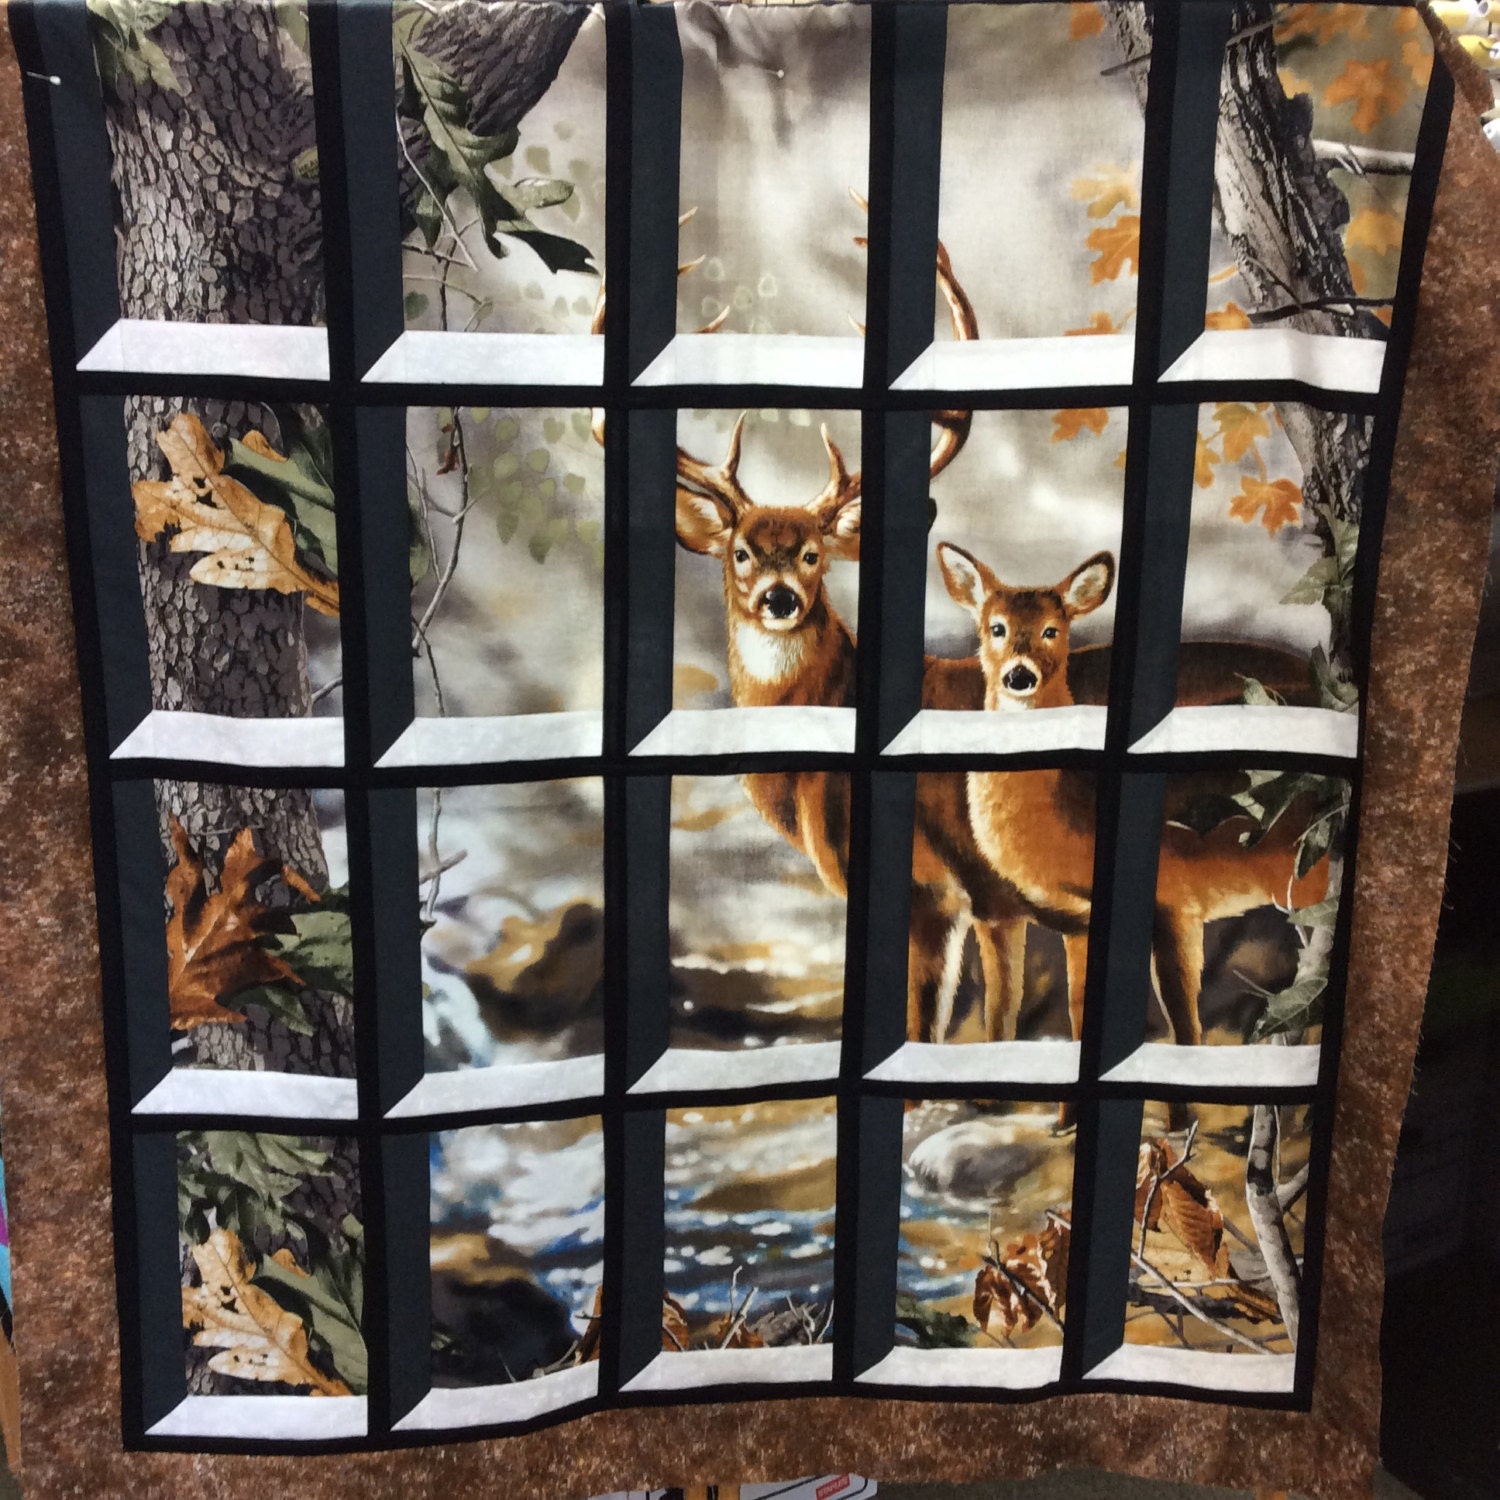
Did you know you can turn any panel or yard of fabric into an attic window? Flying hot off our shelves is our Deer in the Attic Window Kit. You can create this gorgeous panel to use for a throw, wall hanging, or blanket.
At Alma Sue's Quilt shop we offer classes on creating these fabulous attic window panels. You can also purchase our kit at our website. See below for youtube video tutorial and here are instructions:
1.) Preparing the panel you will need to cut it down to 40" taking some off the top and some off the bottom. The panel with the salvaged edges cut off is 36" and you cut the width 35." The panel now measures 35" wide by 40" long.
The length is 40" so you will cut four rows at 10." Next label your rows with post-it notes or numbered points. You will have 4 rows at 10" (4x10=40) You can fold it in half to cut or leave it straight.
2.) Each of the rows is sub-cut to 7" (the width is 35" so you will get 5 cuts at 7") I suggest you cut these single layered. Also mark these blocks with numbered pins or post it notes. Make sure you keep these in order. When you finish cutting you will have 20 rectangles that measure 7" x 10" (4 rows with 5 rectangles in each row)
3.) Sew the light colored fabric 2 1/2 x 7 to the bottom of panel rectangles. Keep in order. the seam toward rectangles and set aside.
4.) With right sides together, sew one square to the bottom of the side sill (gray fabric) using a diagonal seam as in half square triangle or "snowball" technique. Always sew from the inner top right corner to the lower outward corner so the angle slants correctly. Before cutting off extra fabric, check to make sure it is sewn correctly.
5.) Sew the side sill piece to the left side of the rectangle block. Press the seam towards gray.
6.) Sew 1 black sashing between each window pane in each row. sew the rows together, making sure the blocks are in the correct order. After the 4 rows are sewn together, sash between rows.
7.) Sew dark sashing around the entire piece after the rows are put together
8.) Sew borders around the entire piece.
Quilt as desired and create a throw, wall hanging or blanket.
Tips:
Whatever your panel measures make sure that it is easily devisible by a number both in width and length. It is easiest to work with whole numbers.
-To avoid cutting a face between window panes preview the print and mark at the critical points. It is helpful to draw lines with chalk ro marking pencil to make sure the scene is cut properly.
-You can use scissors to cut the panel panes then you can square up with a rotary a cutter and ruler.
-It is helpful to take a phtoo of the panel before cutting to refer to when sewing.
-It is very helpful to use numbered pins to identify the panes and rows. If you don't have numbered pins, you can use pieces of paper.